Monday, 1 April 2013

Day 15: Spicy Chickpea and Aubergine (Eggplant) Stew, April 1, 2013


Today's entry comes from a cookbook that we read often, but do not really use. But we found one recipe that seemed so interesting to us, and we would never have imagined putting eggplants and chickpeas together, that we had to try it.  The recipe is Spicy Chickpea and Aubergine Stew.  It comes from the book The Complete Book of Greek Cooking (authored by Rena Salaman and Jan Cutler).  This book has great photos and easy to follow instructions.  As mentioned, we read it regularly, and usually it sparks other ideas of what to make, but today, we were so drawn to this one recipe, we felt we had to try it.

Aubergines are eggplants and are common in so many Greek dishes.  Typically, we would call them melintzanes.  All over the Mediterranean, the eggplant is used in many dishes.  The variety of eggplants available today is tremendous, with white eggplant, American eggplant, Italian eggplant, and Chinese eggplant -- all have different shapes, colours, and bitterness levels.  The one step in this recipe that we found was so necessary was removing some of the bitterness from the eggplant.  That is done by cutting the eggplant and coating it with salt.  This draws out some of the liquid, therefore removing some of the bitterness.  There are some of us that like that sharp taste of eggplant, but in this dish, we wanted to taste the variety of spices used.  From what we read, the spices used in this stew are more common to northern Greece.


For this recipe, you will need:
1 large eggplant, cut into cubes
1 can chickpeas, drained and rinsed
2 Tablespoons oil
3 cloves garlic, chopped
1 large onion, sliced or chopped
1/2 teaspoon ground cumin
1/2 teaspoon ground cinnamon
1/2 teaspoon ground coriander
1 14 oz can chopped tomatoes
salt and pepper to taste


Start by cutting up the eggplant.  Dice it in even-sized cubes that will fit perfectly on a fork.  Then, put the cut eggplant in a colander or a sieve and coat the cubes with salt.  Allow this to sit over a bowl for at least 30 minutes to remove the bitter liquids.  The amount of liquid drawn out by the salt will vary depending on the age of the eggplant, the amount of salt, and the amount of time the eggplant sits.  Do not let it sit more than 1 hour because the eggplant will become completely mushy.


While the eggplant is draining, prepare your other ingredients.  Slice the onion into think strips.  Also, cut the garlic into fine slices or you can mince it through a garlic press  We liked the sliced garlic for appearances in the final product.  Some folks may find it easier to press the garlic or use the ready-minced garlic.  All are fine, as long as it equals about 3 cloves.


Now, heat the oil in a heavy bottom pot.  There should be enough oil to coat the bottom of the pot, without looking like we are deep frying anything.  Cook the onions and the garlic together in the oil.  We put a lid on the pan so we could sweat the onions, which also prevented them from becoming too brown in colour.  Cook until the onions become translucent.  Add a little sprinkle of salt and pepper to the onion mixture.

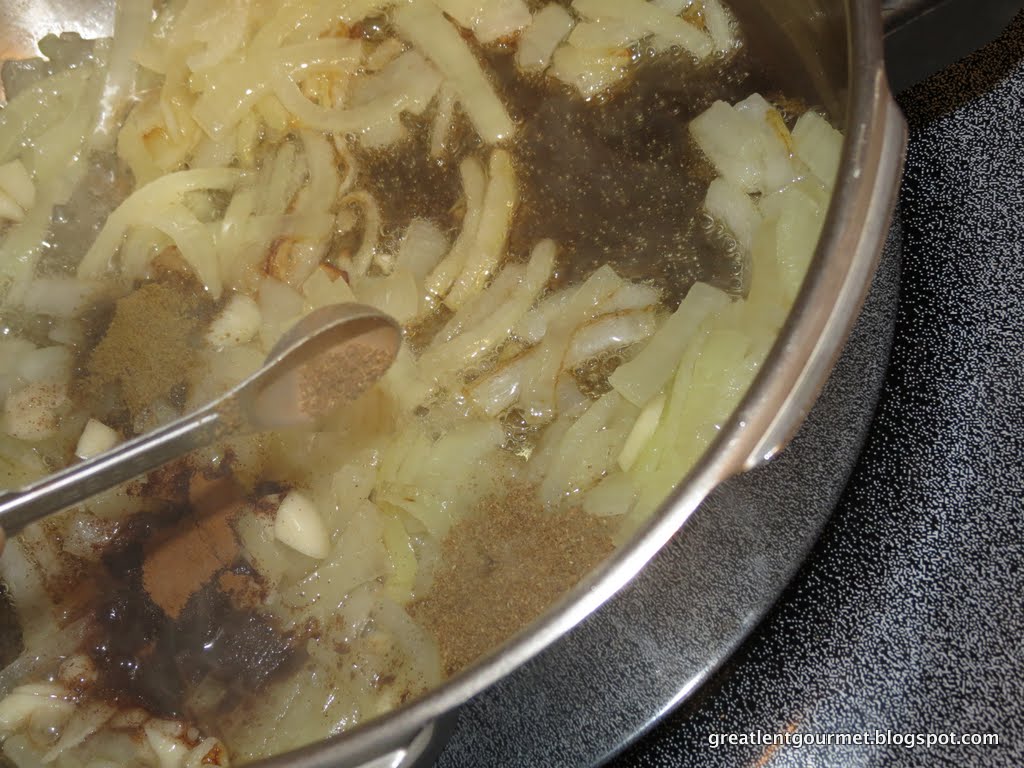
Now, add the spices of cinnamon, coriander, and cumin.  Wow!  You will have an amazing smell wafting through the kitchen.  Make sure the onions get fully coated with these spices.  You will see the onions turn a bit brown from the spices, but that's okay.  Just keep mixing so nothing sticks to the bottom of the pan.


Next, you have to rinse the eggplant under cold water.  Keep the water running while you move the colander around; you want to make sure to remove as much of the salt and drippings as you can.   After the eggplant is well rinsed, we will add the eggplant to the onion mixture and mix it well, too, making sure that the eggplant is fully coated with the spices.  Let this cook for about 10 minutes, until the eggplant is soft.


Then, drain the chickpeas and rinse them well under running water.  You don't want any of the canning liquid flavour coming through, so you have to wash them well.  Then, add the chickpeas to the pot.  Also, add the can of tomatoes - juice and all!  Add the entire contents of the can.  Mix all of the contents of the pot together so that the onions, the spices, and the tomatoes are evenly distributed in the pan.


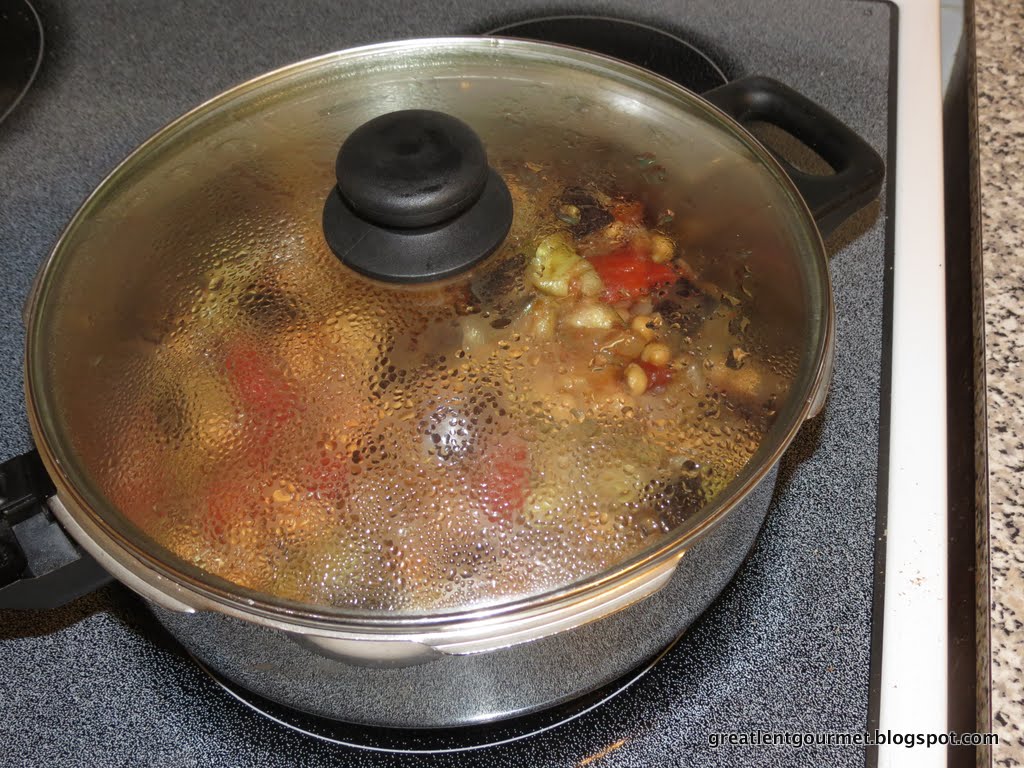

Now, cover the pot and allow this to simmer on a medium-low heat for about 20 to 30 minutes.  Make sure the eggplant is cooked all the way through and that the chickpeas have softened.  You will notice that there may be more liquid in the pot than when you started.  That's fine since the vegetables have released their own juices.  Also, this gives you one more reason to make a nice rice, quinoa, or pasta to soak up all those extra juices.  Serve this warm and enjoy.

We are thrilled to have tried this recipe.  It was a first for us.  Since neither of our families are from northern Greece (all of my ancestors are Greek islanders while my husband's are from Peloponnesos), we were intrigued at the spice combination and that is what enticed us about this dish originally.  Now that we have made this, we  know it is an easy meal to serve through Great Lent and we would use it as a side dish in the summer when eggplants are in season.  It was filling without being too heavy, and it has so many nice flavours coming through.  The cinnamon made the whole house smell good, and the coriander and cumin gave the dish an interesting twist.  Who knows?  We may have to actually try other recipe from this book instead of just reading and looking at the pictures!


"As salt is needed for all kinds of food, so humility is 
needed for all kinds of virtues."

St. Isaac the Syrian


Sunday, 31 March 2013

DAY 14: Greek Orthodox Memorial Lunch - Mnimosino With Calamari, MARCH 31, 2013


Last Sunday we went to a memorial service for a dear family friend who died one year ago. In Greek, the word for memorial service is "mnimosino" or μνημόσυνο.  It is sad to lose a loved one, whether that person is friend or family, but in the Orthodox tradition, we honour and commemorate our dead.  Usually, the family will have a memorial service at 40 days, and then on the anniversary each year afterwards.  Some families opt for a six month anniversary as well, but these are the two big ones for most families.  At these memorials, there are a few things that we usually expect.  Typically for a mnimosino, there is a tray of koliva.  This is the delicious and beautifully prepared boiled wheat dish that is shared with parishioners.  It usually is made with raisins, pomegranate seeds, nuts, and cinnamon.  Many people also make koliva  for Psychosavato (Saturday of Souls) and for the Saturday of Lazarus.


We also expect to eat fish.  But, what happens when the memorial service is during Great Lent, and it is not on March 25 nor on Palm Sunday (the two days of Great Lent when fish is permitted)?  Well, the good people preparing the food have to come up with another answer.  So for us at the church today, we were served Calamari.  There have been times when shrimp or a seafood mix were served, but the calamari was a nice choice.

By asking the good folks who prepared the calamari, we learned that they had bought it already cleaned and ready to cook.  That makes it easy.  Simply, the calamari was scored across the body to open it up, and then cooked on the flattop grill with some salt, pepper, and lemon.  It was light and fresh tasting.   So many people know that calamari is easy to overcook; we were so impressed that this was not chewy.

The gigantes (giant Greek lima beans: Day 32 Great Lent Gourmet, 2012) were soft and buttery, and have become a typical offering for a mnimosino luncheon.  These, we could tell were the homemade kind - not out of a can.  And, then, the rice, salad, and bread are all standard accompaniments for the meal.

When hosting a memorial service, there are so many other details to worry about; cleaning squid should not be one of them.  We hope in the future, we will be able to make a calamari dish as simple and tasty as this one.

Zoe se mas ("Ζωή σε μας" - translated as "Life to us").


(English version of Greek Orthodox Memorial Service. 
Source: http://www.youtube.com/watch?v=j-JDZB-rHFU)


(Greek language version of the Greek Orthodox Memorial Service. 
Source: http://www.youtube.com/watch?v=lcQ_GkYPeEA)

Saturday, 30 March 2013

Day 13: Vegan Almond or Nut Cookies Shaped Like Pears - March 30, 2013


Everybody likes cookies.  They are easy to eat, small enough to enjoy with a coffee or tea, and just sweet enough to satisfy a craving.  And, many times, one is enough.  Well, we thought it would be nice to have a homemade treat on hand, since we are expecting company over the next few days.  When someone visits, it is important to have something to offer, food or drink.  So, we chose to make a few cookies for our guests.  Typically, these cookies are called Pine Nut Cookies, but traditionally  they were made from marzipan (almond paste).  And, although these are not originally Greek, adaptations of the original marzipan cookies have comfortably made their way to a common sight in many Greek bakeries and homes.

Marzipan is rather expensive, and can be bought in tubes, cans, or in various pre-made shapes.  We could also make our own by grinding the almonds with some sugar to make the paste.  If you don't really like the flavor of marzipan, there should be alternatives.  And, there are, especially with these cookies.

We could use pine nuts or walnuts and end up with similarly delicious treats, just different flavours.  Today, we chose to be a little more traditional and use almonds.  But, our variation to the recipe is that we used toasted, sliced almonds.  That, we thought, would bring another dimension to the flavour of these pear-shaped treats.

Why pear shaped?  Well, first, it is very easy to just pinch an end and make the stem part.  But, pears are representative of how ancient the Greek civilisation is.  According to the author of the excellent cookbook, The Olive and the Caper, "Pears originated where Greeks did, on the west of the Urals above the Black Sea.  The remains of wild pear are found in Mycenaean sites."   So, with the pear being so intertwined with Greek food for so long, and nuts having been used forever in Greek culinary treats, putting the two together seemed like a good fit.  These were easy and quick to make, and they look so cute!


For this recipe, you will need:

1 1/2 cups nuts (8 ounces)
1/4 cup sugar
2 1/2 Tablespoons flour (all-purpose)
2 Tablespoons Triple Sec (or other orange-based liqueur)
32 whole cloves
2 Tablespoons confectioners' sugar (icing or powdered sugar)

Remember, we used toasted almond slices that we had on hand, but you can use almonds of any kind, walnuts, pine nuts, or pistachios (shelled) to make these cookies.  This recipe yields about 32 cookies (for today's blog entry, we used half the recipe for the pictures below).


First, preheat the oven to 375° F (190° C).  While the cookies are in the oven, we had to lower the temperature to 350° F (175° C), but the higher temperature was important at the start of the baking.  Then, start the cookie dough.  In a food processor, combine the nuts and sugar and grind to a fine powder.  You will see the oil start to separate out of  the nuts, and then the sugar will absorb the oil and you will watch the nut mixture turn pasty.  When that starts to happen, add the flour and the liqueur.   Just pour them into the food processor and use the pulse function to get the ingredients together.  Now, continue to process this until the dough holds together by itself.


Take the dough out of the food processor and make a log from it.  Roll it into a log or cylinder that is uniform, since this will be divided into equal pieces to make the cookies.  Let the log rest for a moment to make sure that it holds its shape and does not fall apart.  You can see that we left our nuts a little more coarse than fine.  We agreed that we like a little texture and a little bite to a cookie, and would prefer that it is not creamy.  So, we did not puree the nuts as well as the directions in the cookbook suggested.  So, when you look at our dough, it does look like it is falling apart, but it is just so coarse that it took a little more pinching together than if it had been more finely ground.


Now, cut the log into 32 equal pieces.  As mentioned, we made half the recipe, so you will not see 32 in the pictures below.  There were different ways to cut the log into equal pieces -- use a knife and cut, just as you would refrigerator cookies.  Or, use your fingers and pinch equal amounts off the log and lay the pinched portions aside as you go.  Whichever way is easy for you, do that.  You could even use a scale to weigh each piece.  We chose to pinch our pieces so they felt like they would be the right size.  Sometimes, we know how big we want the bite to be, and we may not have 16 pieces, but the pears seemed like the right size for us.   So, pinch or cut the pieces and lay them aside.


Now comes the fun part.  Using the palms of your hands, and your fingers, roll the chunks of dough into ball shapes and place them on a cookie sheet.  Just to mention that we always line our cookie sheets with either parchment paper or with the reusable silicone mats.  Because these cookies are very oily when they are raw, we thought parchment would be the best choice today.  After you have rolled each chunk into a ball, use your index finger and thumb and pinch one end of the ball.  Pinch with these two fingers and turn the ball in your hand to keep all the edges rounded.  This was the hardest thing to photograph!  But, you pinch and turn, pinch and turn, and then lay the pear shaped cookies on the cookie sheet.


Now, add the stems to the pears.  Using the whole cloves, poke a clove right into the pointed side of the cookie to give the appearance of a stem coming out of a fruit.  Do this for each cookie.  When we sat back and looked at the whole tray of cookies, we thought it was so cute, and the cloves really do have the right shape!


Bake the cookies in the oven for 5 minutes at 375° F  (190° C), then, turn down the temperature to 325° F (165° C) and continue to bake until the cookies are lightly golden on top -- about 15 minutes total.  They will have the same golden colour as a toasted nut -- whatever nut you are using.  Keep that in mind when baking.

Let the cookies rest for only a moment, and then, using a sifter, sprinkle the powdered sugar (icing sugar, confectioners' sugar) all over the cookies.  It's the same process as making kourambiedes (see last year's blog entry by clicking here).  You want to sprinkle the powdered sugar on the warm cookies so the sugar melts a little bit and makes a bit of a glaze or a coating on the cookies.  You can add more powdered sugar later if you want white cookies, but for now, sift enough on there to cover the entire top of the cookie.


Then, the cookies are ready to serve.  You can add more powdered sugar, or you can leave them as they are.  Some were warmer than the others, and the sugar melted more on those cookies.  But, we know for sure that they looked beautiful!   We thought that we had baked our batch a little too long, and they were maybe a little dark for what we wanted.  But, then, we realised that we had started with some toasted almonds, so our dough was already darker from the start!

We can keep these cookies in an airtight container for up to 2 weeks.  It is such a simple recipe and not too time consuming to bake.  Really, the whole process, start to finish, took us about 30 minutes.  We think that most people can find 30 minutes in a day to make some cookies.  And, if we wanted to make different shapes, we probably could.  We could just leave the cookies as balls, put a clove in the top of the ball and call them apple shaped!  Or, we could make slices from our original log and omit the cloves, and just have cookies.  We don't think the shape of the cookie matters as much as how delightful it tasted.  Perfect for company, perfect for Great Lent!


"A tree is known by its fruit, a man by his deeds. A good deed is never lost; he who sows courtesy reaps friendship, and he who plants kindness gathers love."

St. Basil the Great